I’m basically doing this for myself, but maybe it’ll help others. I am not a procreate expert, or even a novice for that matter. I am just guessing with this. It’s what works for me and I’m content with that.
In Procreate I use the following canvas size for making stamps. I got it the info from some random website I can’t remember but, again, it works for me.
Canvas:
2048x2048 Pixels (square shape is the best shape)
500 DPI
Display P3
If you know of any better settings, use them. I am not a rule book on making stamps. The world is your oyster, more cliches and whatnots.
1. Draw an image in black and white, or find a black and white image. If you can while you’re drawing it/when you get it, invert it so the background is black. This will help the stamp come out black with the background being transparent, or something like that.
In the video I wanted to draw my characters horns so I had them as a reference. Sorry the video is fast.
2. Next up, when you’re happy with your picture, click on the Wrench. Make sure you’re in the Add action, and go down to Copy Canvas.
3. Next click on the
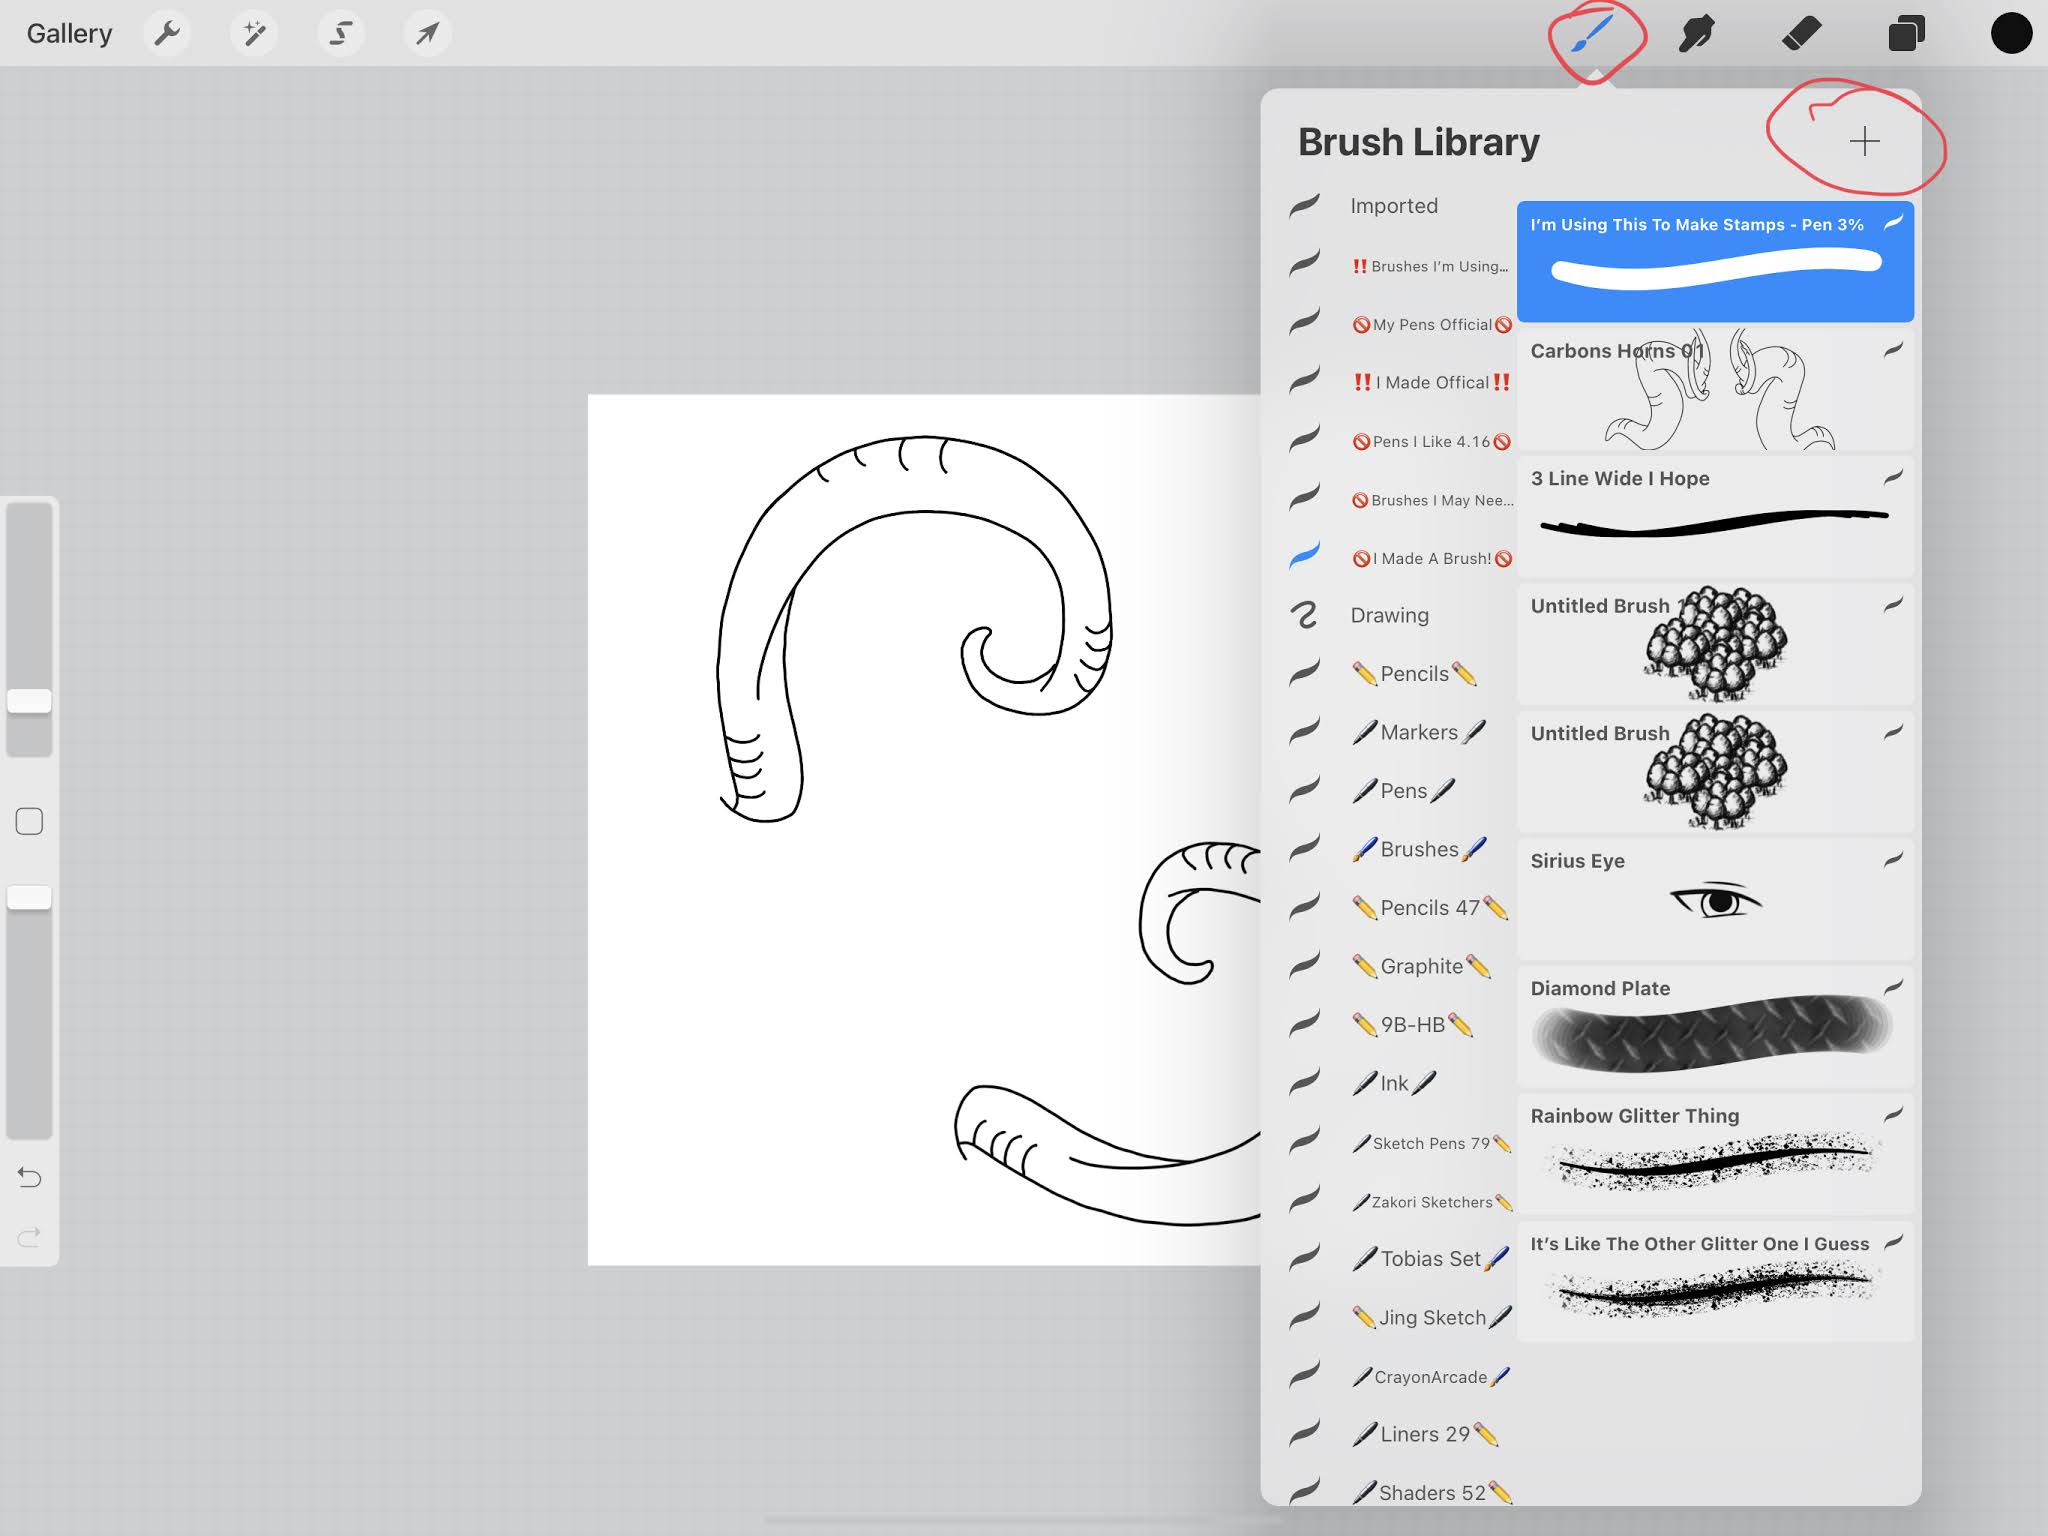
Paintbrush icon on the right. Make sure you’re in the brush library section where you want your brush to end up. Ive lost brushes I’ve made in other areas because I didn’t pick a good spot to add it. Click on the
+ Plus sign to make a new brush.
4. So the first two things I change are the Spacing and Streamline. I crank those bad bars all the way up. It works for me. Keeps the stamp stamps.
5. Go to Shape and click on Edit above the circle next to Stamp Shape.
6. Then click on Import and Paste (if inserting drawing from canvas like I did. If you have a file save, chose the Import A Photo or Import A File option and locate your image).
7. Using two fingers, tap the image to make it invert (it needs to have the background black and the outline white to not be a weird square shaped stamp).
8. BAM! A Stamp thingy! I had to adjust the rotation circle, which you may or may not have to do so I’m making it step 8 just in case.
9. To make it solid when I use my Apple Pencil, I go to the Apple Pencil section and drop the Opacity down to none. There’s one set of horns that turns dark when I do that, if you look closely. It’ll change on yours if you stamp with the pencil.
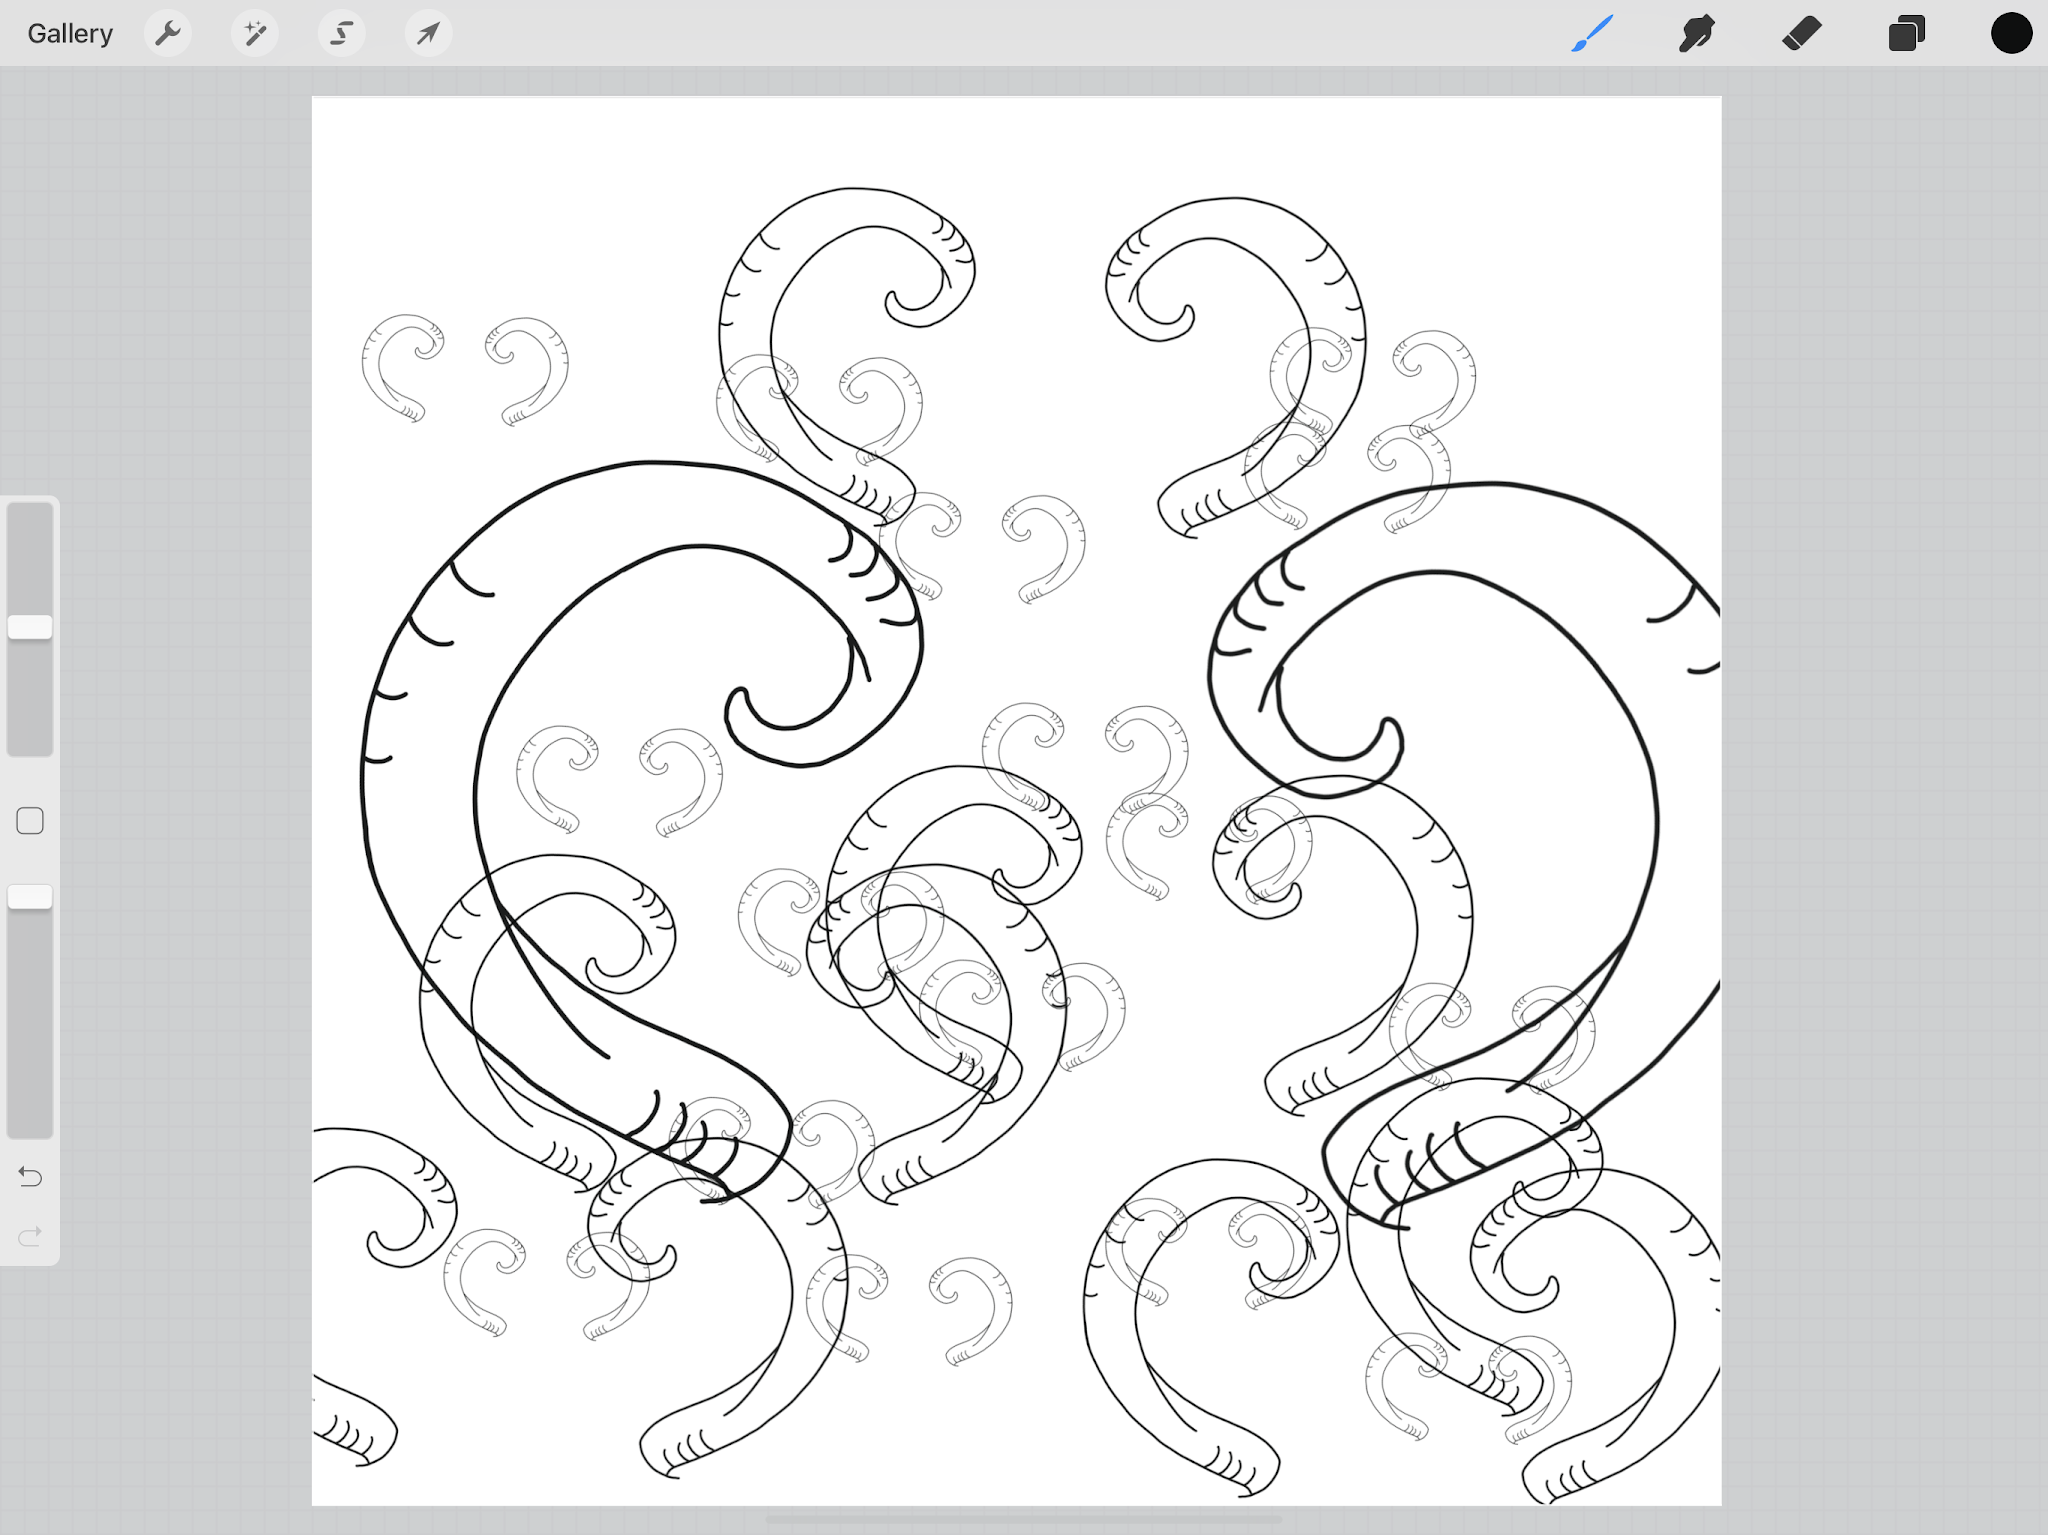
10. So I do this next bit because it helps me visually. Not required, but handy. Go to Properties and turn up Maximum Size all the way. I don’t know what it does, I just do it. Then I turn on Use stamp preview and drop the Preview percentage to fit my window in the Brush Library.
11. Hooray the end! If you’re happy with your settings, click on Create new reset point. This will make it so if you accidentally change something you don’t like, you can reset it back to these settings. Please note: If you want to keep these settings, but play around with others using the same brush: Duplicate The Brush!!! This way you can test in a copy without ruining the original. Also you can share your original brush by importing it as a brush file onto your computer thingy pad, so you’ll have it to upload again if need be.
Name it! Say who made it! Sign It!
BAM! You’re done! Congratulations!
TA-DA!
The end.